
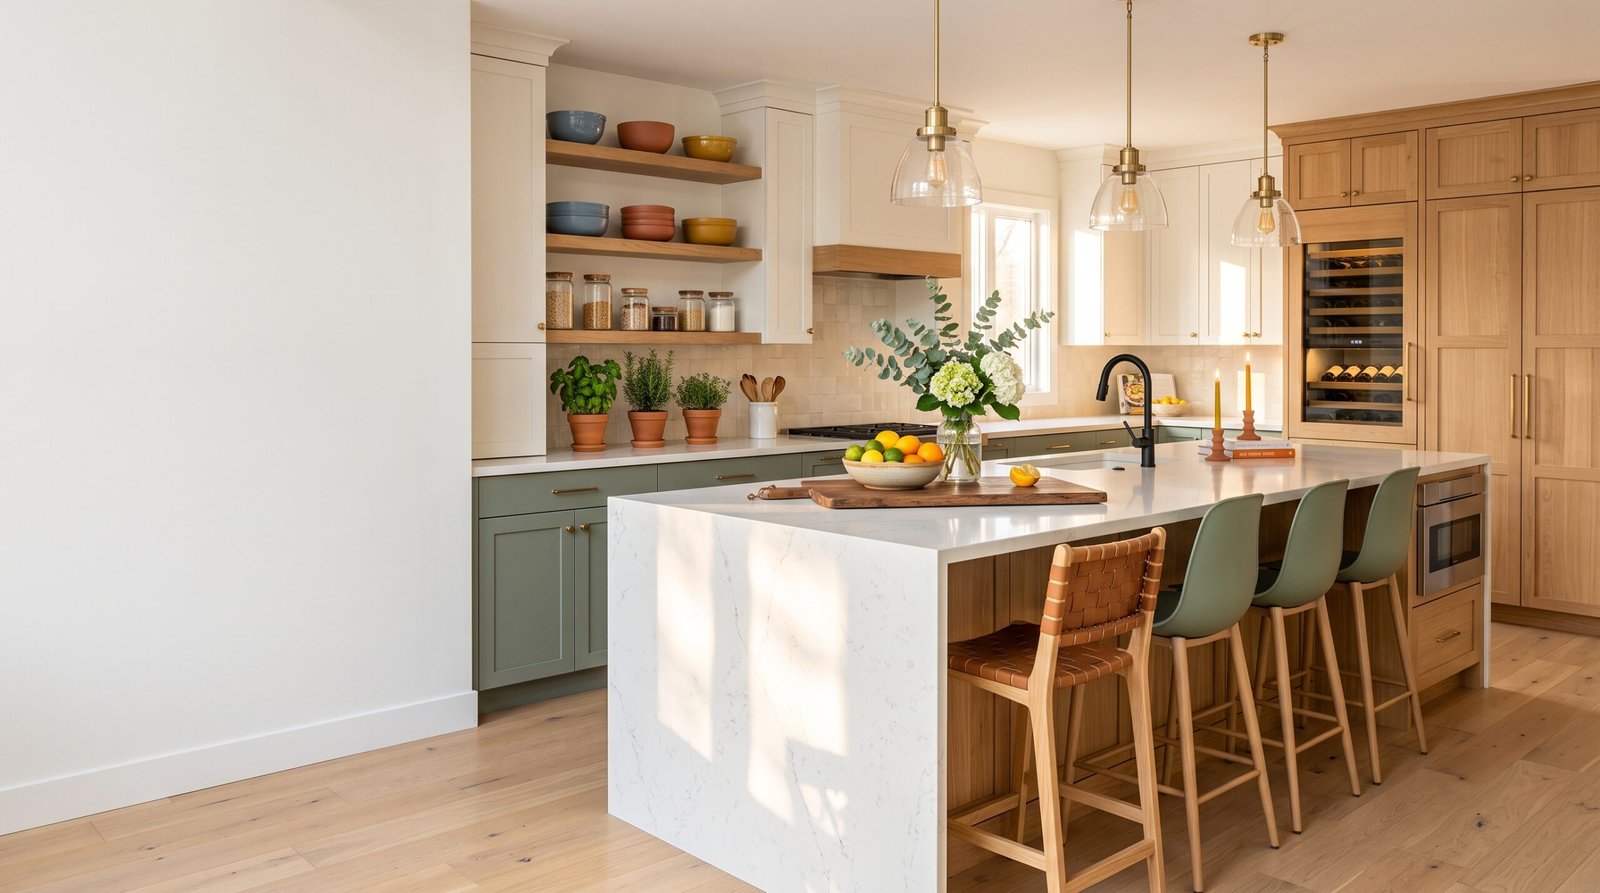
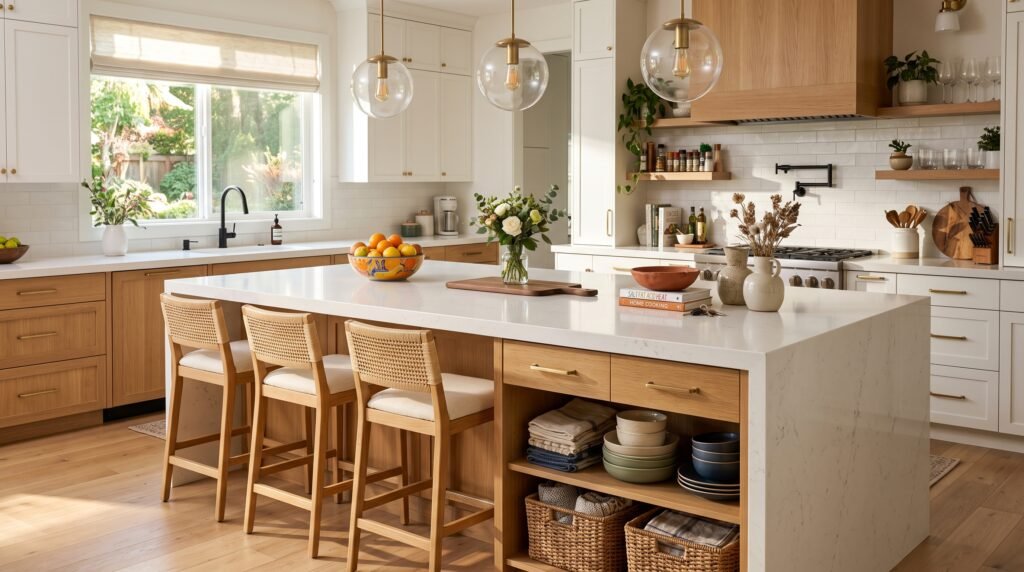
If you’ve been searching for kitchen island ideas that actually work for real kitchens — not just the ones on Pinterest that require a contractor, a trust fund, and three months of downtime — you’re in exactly the right place.
Kitchen islands are one of those upgrades that sound simple until you’re standing in a hardware store holding paint swatches, wondering why you ever started this project. But done right? They transform how a kitchen functions. More counter space, better flow, storage you’ll actually use. And the range of options is wider than most people realize.
📋 Table of Contents
- How to Plan Kitchen Island Ideas That Actually Fit Your Space
- Budget-Friendly Kitchen Island Ideas That Don’t Look Cheap
- Step-by-Step Guide to Building a Simple Kitchen Island
- Common Mistakes to Avoid With Kitchen Island Ideas
- The Best Tools and Materials for Kitchen Island Ideas
- Kitchen Island Ideas for Small Kitchens
- Finishing Touches That Make Kitchen Island Ideas Look Professional
How to Plan Kitchen Island Ideas That Actually Fit Your Space
Before anything else, measure twice. Seriously. The number one regret people have after adding an island is that it’s either too big and chokes the traffic flow, or too small to be useful for anything beyond holding a fruit bowl.
Most kitchen designers recommend at least 42 inches of clearance on all sides of an island — 48 inches if multiple people cook at the same time. Picture this: you’re pulling a sheet pan out of the oven while someone else opens the dishwasher door. If those paths overlap, your kitchen island becomes an obstacle course instead of a feature.
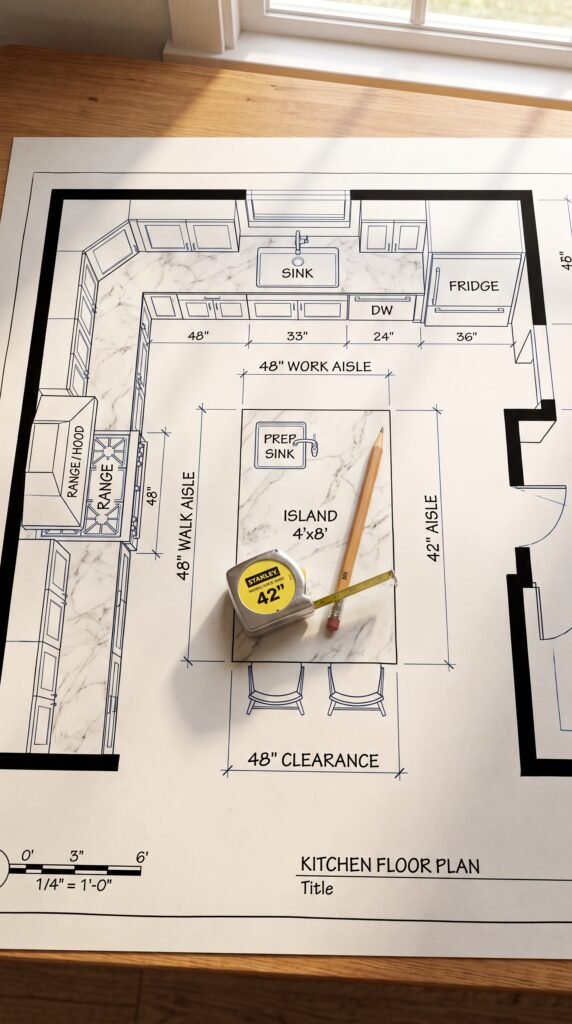
Start by taping out the island footprint on your floor with painter’s tape. Live with it for a day or two. Open every drawer and cabinet in your kitchen. Walk through your normal cooking routine with the tape on the floor. You’ll spot problems before they become permanent.
Then think about what the island actually needs to do. Storage? Seating? Extra prep surface? Appliance housing? Each function affects the size, height, and configuration. A standard island sits at 36 inches — the same as most counters. Bar-height seating pushes that to 42 inches. Knowing your primary goal narrows down the kitchen island ideas worth pursuing.
Stop Making These Kitchen Counter Organization Mistakes
Budget-Friendly Kitchen Island Ideas That Don’t Look Cheap
Here’s where most guides let you down. They say “budget-friendly” and then list options that still cost $1,500. So let’s go lower.
The most underrated kitchen island idea for tight budgets is repurposing a piece of furniture. A sturdy butcher block table, an old dresser with a new top, a rolling kitchen cart from a restaurant supply store. These cost anywhere from $80 to $400, depending on where you source them.
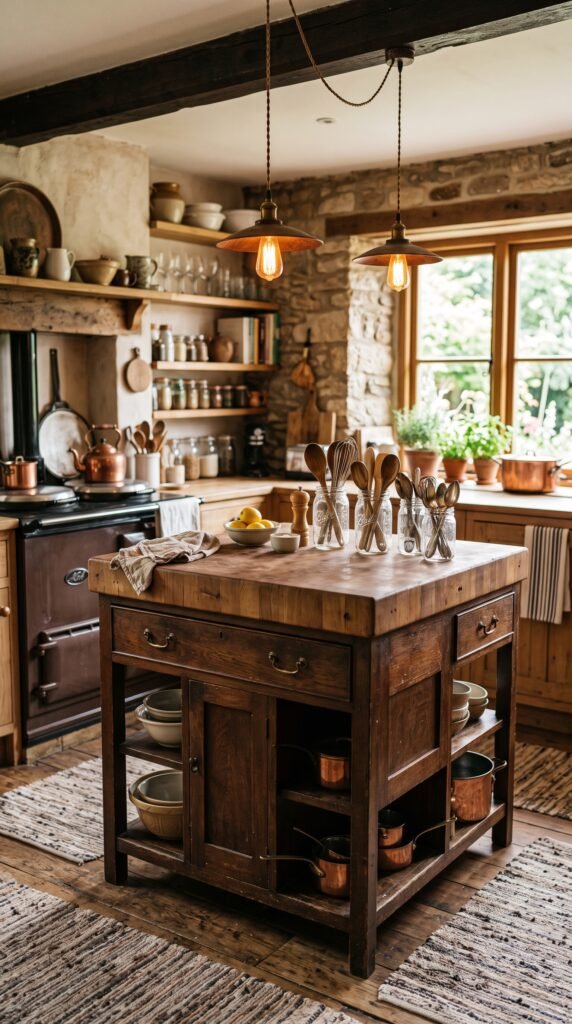
Rolling carts are worth calling out specifically. They’re not just for renters (though renters love them for obvious reasons). A cart with a drawer, a shelf below, and a solid top gives you all the function of a fixed island at a fraction of the cost. Add a butcher block top from a home improvement store and you’ve got something that looks custom.
If you own your home and want something more permanent without a full build, stock cabinets are your best friend. Most home improvement stores sell base cabinets for $150 to $300 each. Two cabinets placed back to back, finished with a countertop of your choice and some trim to cover the raw edges, creates an island that looks built-in. Total cost? Often under $1,000.
And the countertop matters more than people think. Laminate has come a long way. Butcher block is warm and forgiving on the budget. Even a simple poured concrete top is a DIY project some people tackle for under $200. The countertop choice shifts the entire feel of the kitchen.
Small Kitchen Organization Ideas on a Tight Budget
Step-by-Step Guide to Building a Simple Kitchen Island
Building a basic kitchen island isn’t as intense as it sounds. Not if you keep the scope realistic.
Step 1: Define the size and function. Use your taped-out floor plan and decide on dimensions. For a starter island, 24 inches deep by 48 inches long is a manageable size that provides real counter space without overwhelming a mid-sized kitchen.
Step 2: Choose your base. For a DIY build, two stock base cabinets side by side is the most forgiving starting point. Pick 24-inch deep cabinets at the height you want. Standard is 34.5 inches before the countertop is added.
Step 3: Secure the cabinets to each other. Use cabinet screws through the interior face frames to join them. Once attached, add a 2×4 base frame to the bottom so the unit sits stable and you can level it on uneven floors.
Step 4: Add the countertop. Butcher block is easiest for DIY because you can cut it with a circular saw and attach it from below with screws. Seal with food-safe mineral oil immediately and regularly after that.
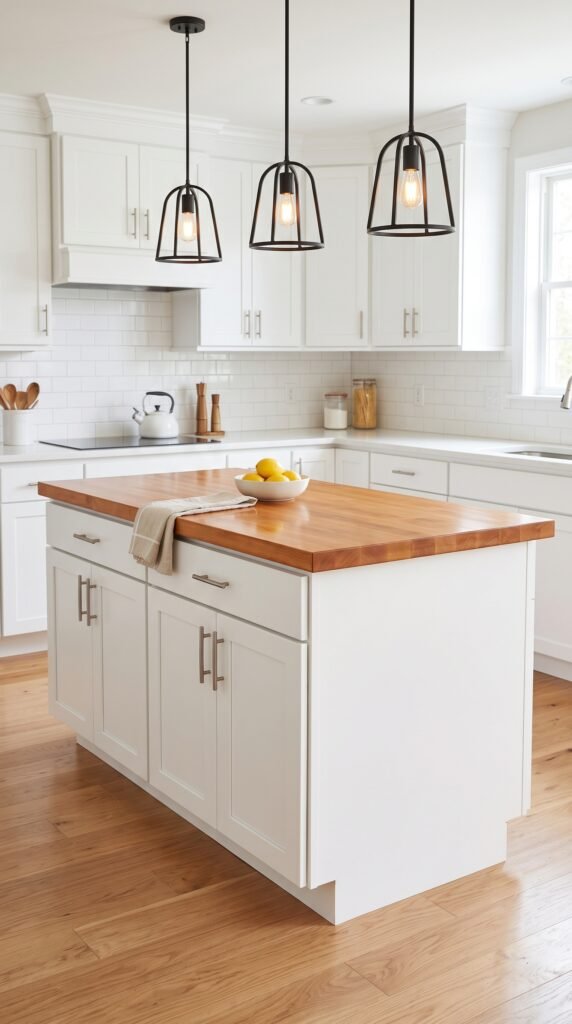
Step 5: Finish the exterior. Add trim or beadboard panels to the sides and front to cover the raw cabinet edges. Paint or stain to match your kitchen. This step alone is what separates a polished result from something that looks like a construction site.
Step 6: Add hardware and extras. Drawer pulls, open shelf brackets, hooks on the end panel, a towel bar. Small additions that make the island feel intentional and finished.
The whole process takes a weekend. Maybe two if you’re taking your time and letting paint dry properly between coats.
According to HGTV’s kitchen design guides, the prep stage — planning and measuring — is where most DIY island builds succeed or fail. Skipping it costs more in rework than it saves in time.
Common Mistakes to Avoid With Kitchen Island Ideas
This is the section people skip. Don’t.
Choosing the wrong height. A mismatch between your island and your counter height creates awkward workflow. If the island is for prep, keep it at counter height (36 inches). If it’s primarily for seating, raise it to bar height and get the right stools. Mixing the two without thought leads to a surface that’s uncomfortable for both.
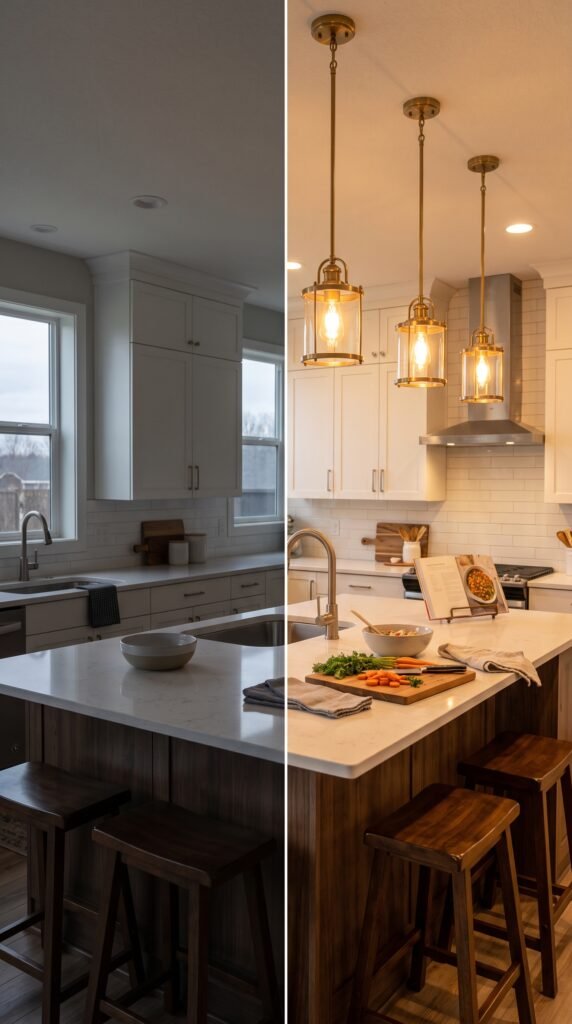
Ignoring lighting. Kitchen island ideas almost always look better in photos than in real life because the photos have good pendant lighting. The island creates a new focal point in the room. Without lighting above it, even a beautiful island feels like an afterthought. Plan for pendant lights or under-cabinet lighting before you finalize placement, because you’ll likely need an electrician to add a circuit.
Adding seating without planning knee clearance. Stools need space. For comfortable seating, you need at least 12 inches of knee clearance below the countertop overhang. That means the countertop needs to extend beyond the cabinet face by at least 12 inches. Most stock cabinets are 24 inches deep, so your countertop needs to be at least 30-36 inches deep on the seating side.
Going too trendy. A kitchen island in a bright jewel tone or a highly specific style can feel dated fast. And since islands aren’t cheap to replace, classic choices tend to win. White, navy, sage green, and wood tones have held up across years of design cycles.
Most people run into this exact problem when they fall in love with a finish at the showroom, bring it home, and realize it clashes with everything they already own. Pull samples and hold them in your actual kitchen before committing.
The Best Tools and Materials for Kitchen Island Ideas
You don’t need a professional workshop to build a solid kitchen island. But having the right tools saves time and keeps results clean.
For a standard cabinet-based island build, you’ll want a drill and driver, a circular saw or miter saw for cutting trim and countertop, a level, clamps to hold pieces while you work, and a jigsaw if you’re cutting around any plumbing or outlets.
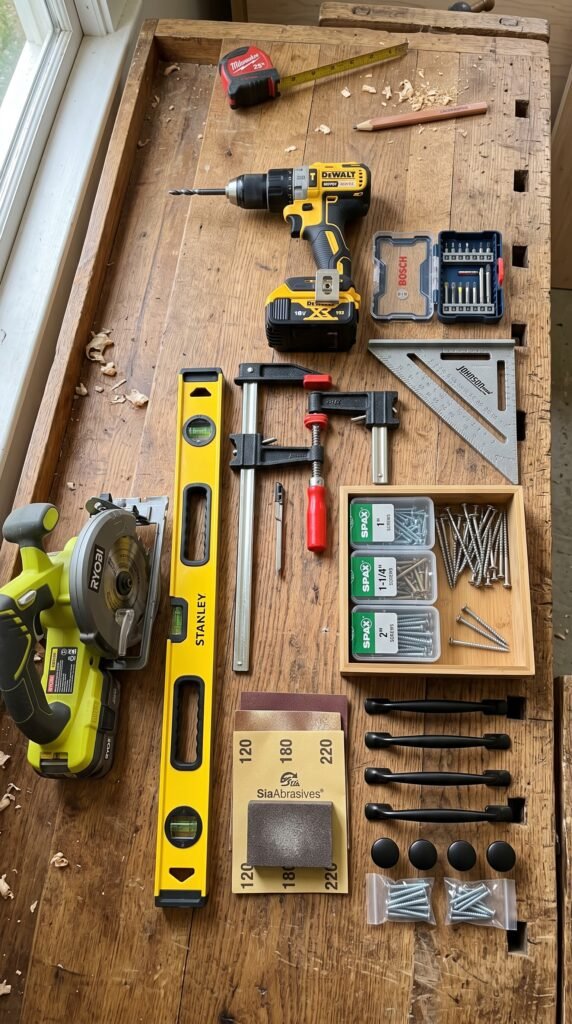
Material choices affect both cost and durability. Here’s how to think about it:
For the base structure, MDF (medium-density fiberboard) is affordable and paints beautifully but doesn’t love moisture. Solid wood is more durable but pricier. Plywood sits in the middle — strong, stable, and better in wet environments than MDF.
For countertops, butcher block is the crowd favorite for DIY because it’s forgiving to work with. Laminate is the most budget-conscious. If you want something that looks high-end without the cost of stone, consider a quartz laminate sheet or even peel-and-stick stone-look vinyl for a temporary or rental-friendly solution.
According to The Family Handyman’s kitchen island build guides, having your materials cut to size at the store before you bring them home cuts the project time significantly — especially if you’re working in a small space.
For paint, a semi-gloss or satin finish holds up better in kitchens than matte. Kitchen surfaces take abuse. The finish needs to be wipeable.
The Ultimate Guide to Kitchen Remodel Ideas for Every Style and Budget
Kitchen Island Ideas for Small Kitchens
Small kitchen? The island isn’t off the table. It just needs to work differently.
The goal in a small kitchen is function without mass. A narrow rolling cart (18 to 20 inches deep) fits in galley-style kitchens without blocking the path. A fold-down island mounted to the wall gives you a prep surface that disappears when you don’t need it. Even a sturdy bar cart can function as a mobile island when cooking is underway and then roll out of the way when it’s not.
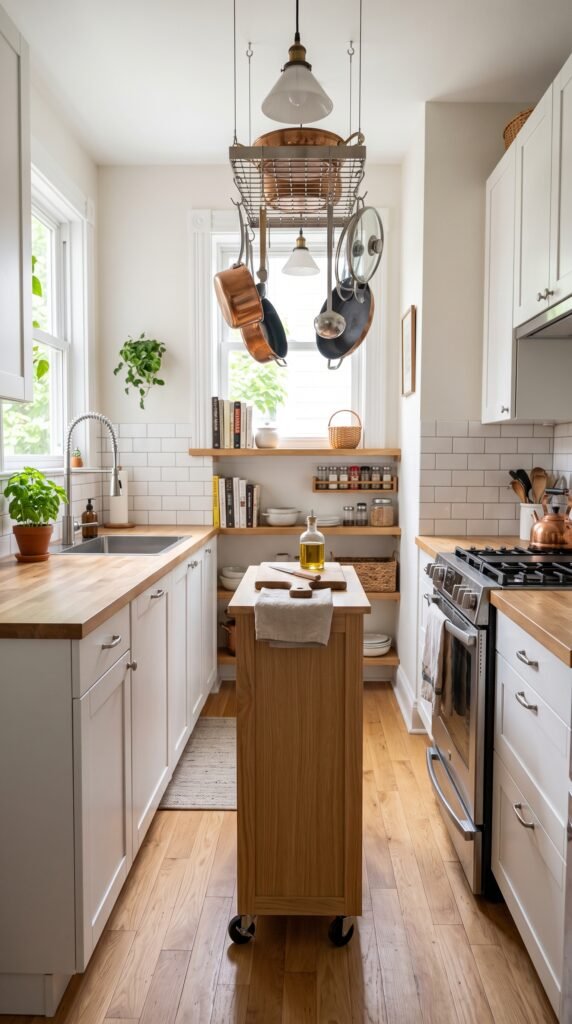
The National Kitchen and Bath Association recommends that small kitchens focus on vertical storage over footprint expansion. An island with open shelves below and a small overhang for one or two stools can serve multiple functions without eating up valuable floor space.
The best kitchen island ideas for small kitchens all have one thing in common: they’re reversible. Before committing to a fixed structure, try a movable option for a few months. You’ll learn fast whether the island helps or crowds the space.
Finishing Touches That Make Kitchen Island Ideas Look Professional
Paint and hardware do more work than any other finishing element. The details are what make the difference between a DIY project and something that looks like it came from a designer kitchen.
Pulls and knobs: choose hardware that matches or intentionally contrasts with the rest of the kitchen. If your upper cabinets have brushed nickel pulls, go brushed nickel on the island or make a statement with matte black. Mixing metals works when it’s done with intention — not by accident.
Toe kick detail: the strip at the bottom of the island, right above the floor, is easy to forget. Finishing it with a matching painted toe kick instead of leaving raw wood is one of those small things non-designers don’t notice consciously but definitely feel.
Corbels and trim: adding small corbels under a countertop overhang, or using furniture-style feet on the bottom corners, shifts the island from “stock cabinet” to “custom built-in.” These details are cheap. They’re also what people compliment.
Fair warning: the finishing stage takes longer than the build. Block out more time than you think you need, and don’t rush the paint. Two thin coats beat one thick coat every time. The extra patience pays off.
Because at the end of all this planning and building and painting, what you want is to walk into your kitchen and feel like it actually works for you. And the right kitchen island ideas, executed with some care, deliver exactly that.