Above Ground Pool Deck: A Complete Step-by-Step Build Guide
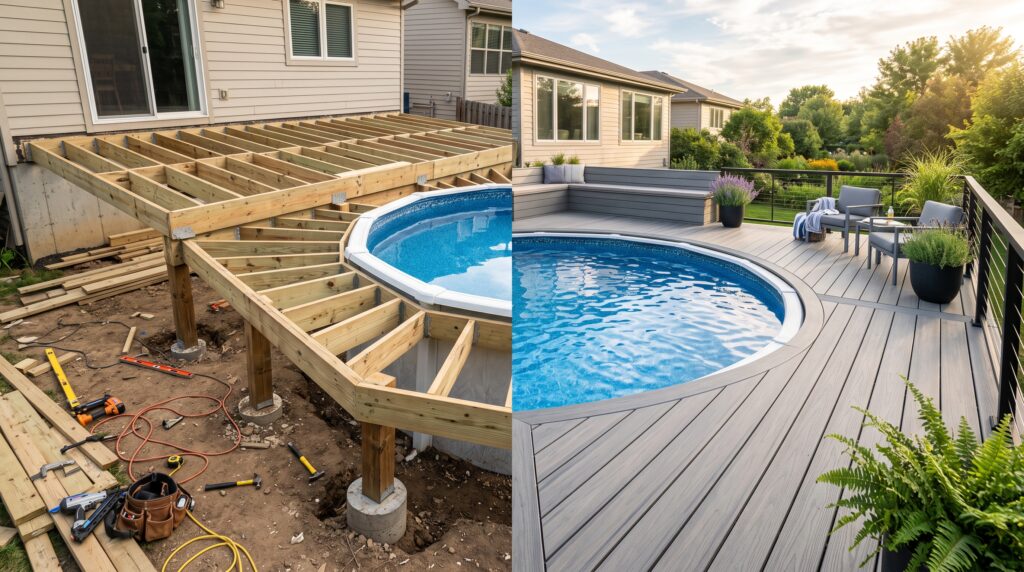
Learning how to build a deck around an above ground pool step by step is one of the most rewarding home improvement projects you can take on — and it transforms a plain backyard pool into a true outdoor living space.
Picture this: it’s the height of summer, and your above ground pool sits in the middle of your yard looking exactly like what it is — a big metal ring with a liner. Functional? Absolutely. Beautiful? Not quite. Now picture that same pool surrounded by a wraparound deck, with a built-in entry staircase, space for lounge chairs, and room for the grill. That second vision is entirely within reach, and this guide walks you through exactly how to get there.
Why Building a Deck Around Your Above Ground Pool Changes Everything
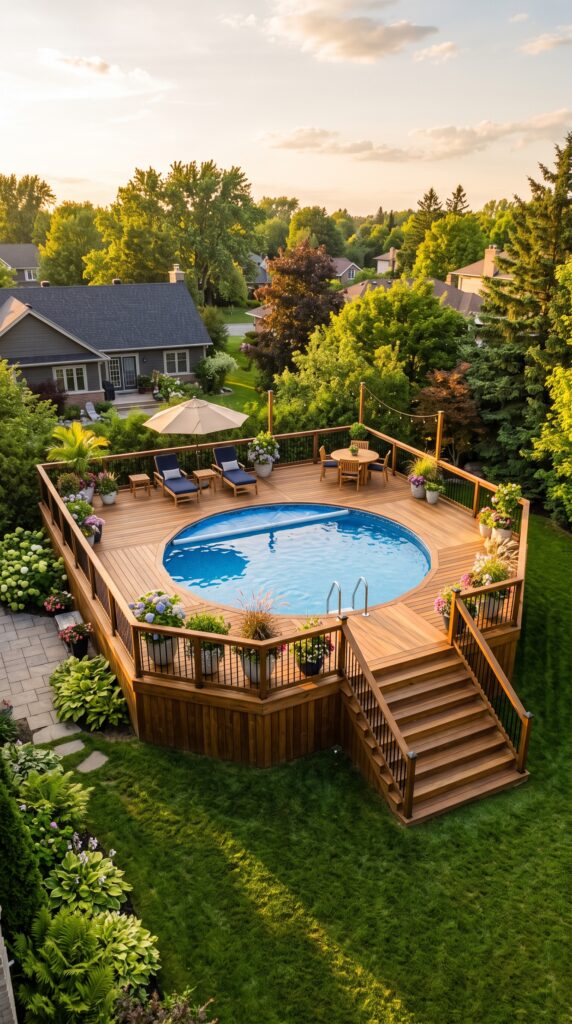
There is a massive difference between having a pool and having a pool experience. A bare above ground pool requires a ladder that wobbles, forces you to haul yourself over the top rail, and offers nowhere comfortable to sit between swims. A deck solves every one of those problems in one build.
Beyond comfort, a deck adds real estate value. According to the National Association of Realtors, outdoor living improvements consistently rank among the top five projects for homeowner return on investment. A well-built pool deck signals care, craftsmanship, and livability to any future buyer.
There is also a safety argument. A solid deck eliminates the trip hazards of muddy pool surrounds, keeps grass and debris out of the water, and gives children and guests a stable, flat surface to enter and exit.
above ground pool landscaping ideas
Planning Your Build: The Foundation of How to Build a Deck Around an Above Ground Pool Step by Step
Every great deck starts on paper. Before you touch a single board, spend real time in the planning phase — it saves money, prevents mistakes, and keeps the project moving without frustrating backtracking.
Measure Your Pool and Define Your Deck Footprint
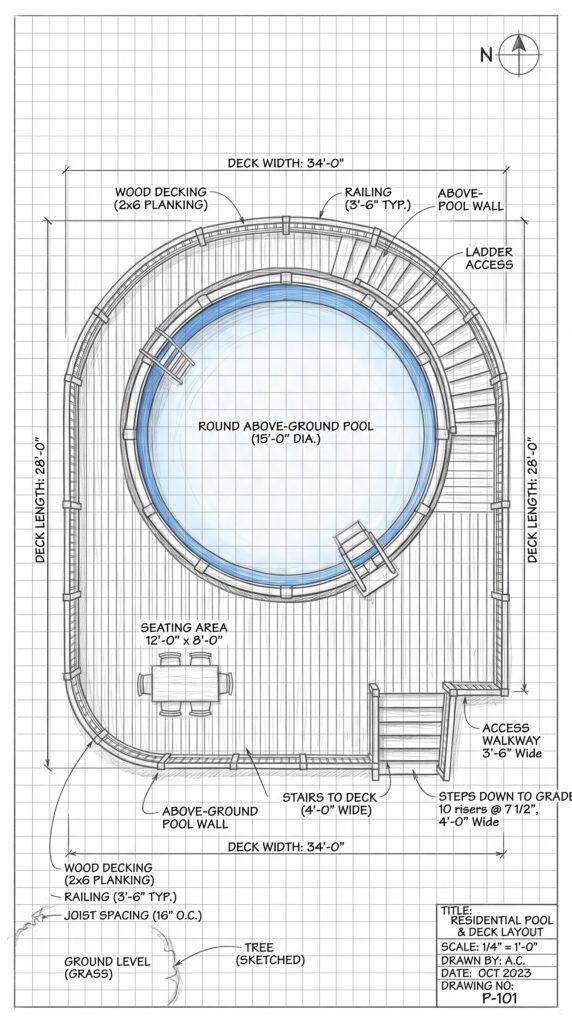
Start by measuring your pool’s diameter precisely. Above ground pools come in standard sizes — 12, 15, 18, 21, and 24 feet being the most common — but your liner may have shifted slightly, so always measure yourself. From the outer wall of the pool, decide how wide you want the deck platform to be. A 4-foot surround is the practical minimum; 6 to 8 feet gives you true lounging space.
Mark the full footprint on the ground using spray paint or landscape stakes. Walk around it. Sit in a chair inside the painted boundary. Make sure the space feels right before you commit to a single post hole.
Check Local Building Codes and Pull Permits
This step is non-negotiable. Most municipalities require a building permit for any deck above 12 to 18 inches in height, and pool decks often trigger additional fencing and gate requirements under local pool safety ordinances. Contact your local building department or visit your city’s website before breaking ground.
According to the International Code Council, unpermitted deck work can result in forced demolition, fines, and complications when selling your home. Pulling the permit protects your investment.
Choose Your Decking Material
Pressure-treated lumber is the classic choice — affordable, strong, and widely available. For a pool environment, however, composite decking is worth the premium. Composite boards resist moisture, don’t splinter underfoot, and won’t warp through repeated wet-dry cycles the way natural wood can.
Cedar and redwood are natural alternatives that handle moisture beautifully and look stunning, but they require regular sealing to maintain that appearance. Whichever material you choose, make sure it is rated for ground-contact or elevated applications in wet environments.
How to Build a Deck Around an Above Ground Pool Step by Step: The Full Build Process
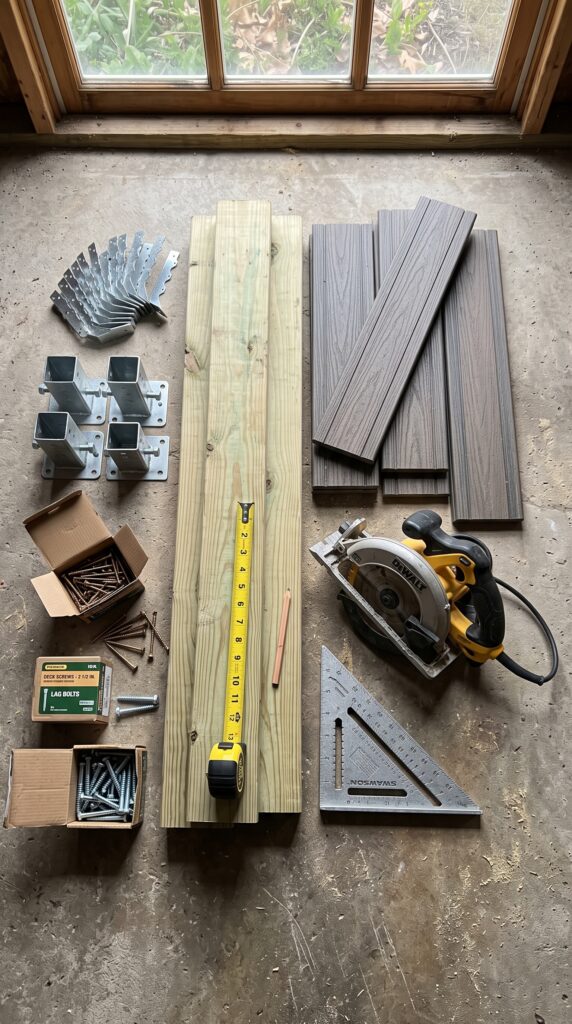
With planning done and materials sourced, you are ready to build. This phase breaks into five clear stages. Work through them in order and you will avoid the most common mistakes DIY deck builders make.
Stage 1 — Mark and Dig Post Holes
Post holes are the backbone of the entire structure. Using your staked footprint as a guide, mark post locations at regular intervals — typically every 6 to 8 feet along each beam run. For a pool deck, posts should sit outside the pool’s outer wall, never underneath the pool or resting on the pool structure itself.
Dig holes to the depth required by your local frost line. In most of the continental United States, the International Building Code requires footings below the frost line to prevent heaving. Check your local frost depth map — this varies dramatically from Florida (no frost depth) to Minnesota (42 inches or more).
Set your post anchors in concrete. Allow the concrete to cure for a full 48 hours before placing any weight on the posts.
Stage 2 — Set Posts and Install Beams
Once footings are cured, set your posts using post anchors or by setting them directly in concrete depending on your design. Use a level obsessively here — a post that is even slightly off-plumb creates cascading alignment problems across every subsequent step.
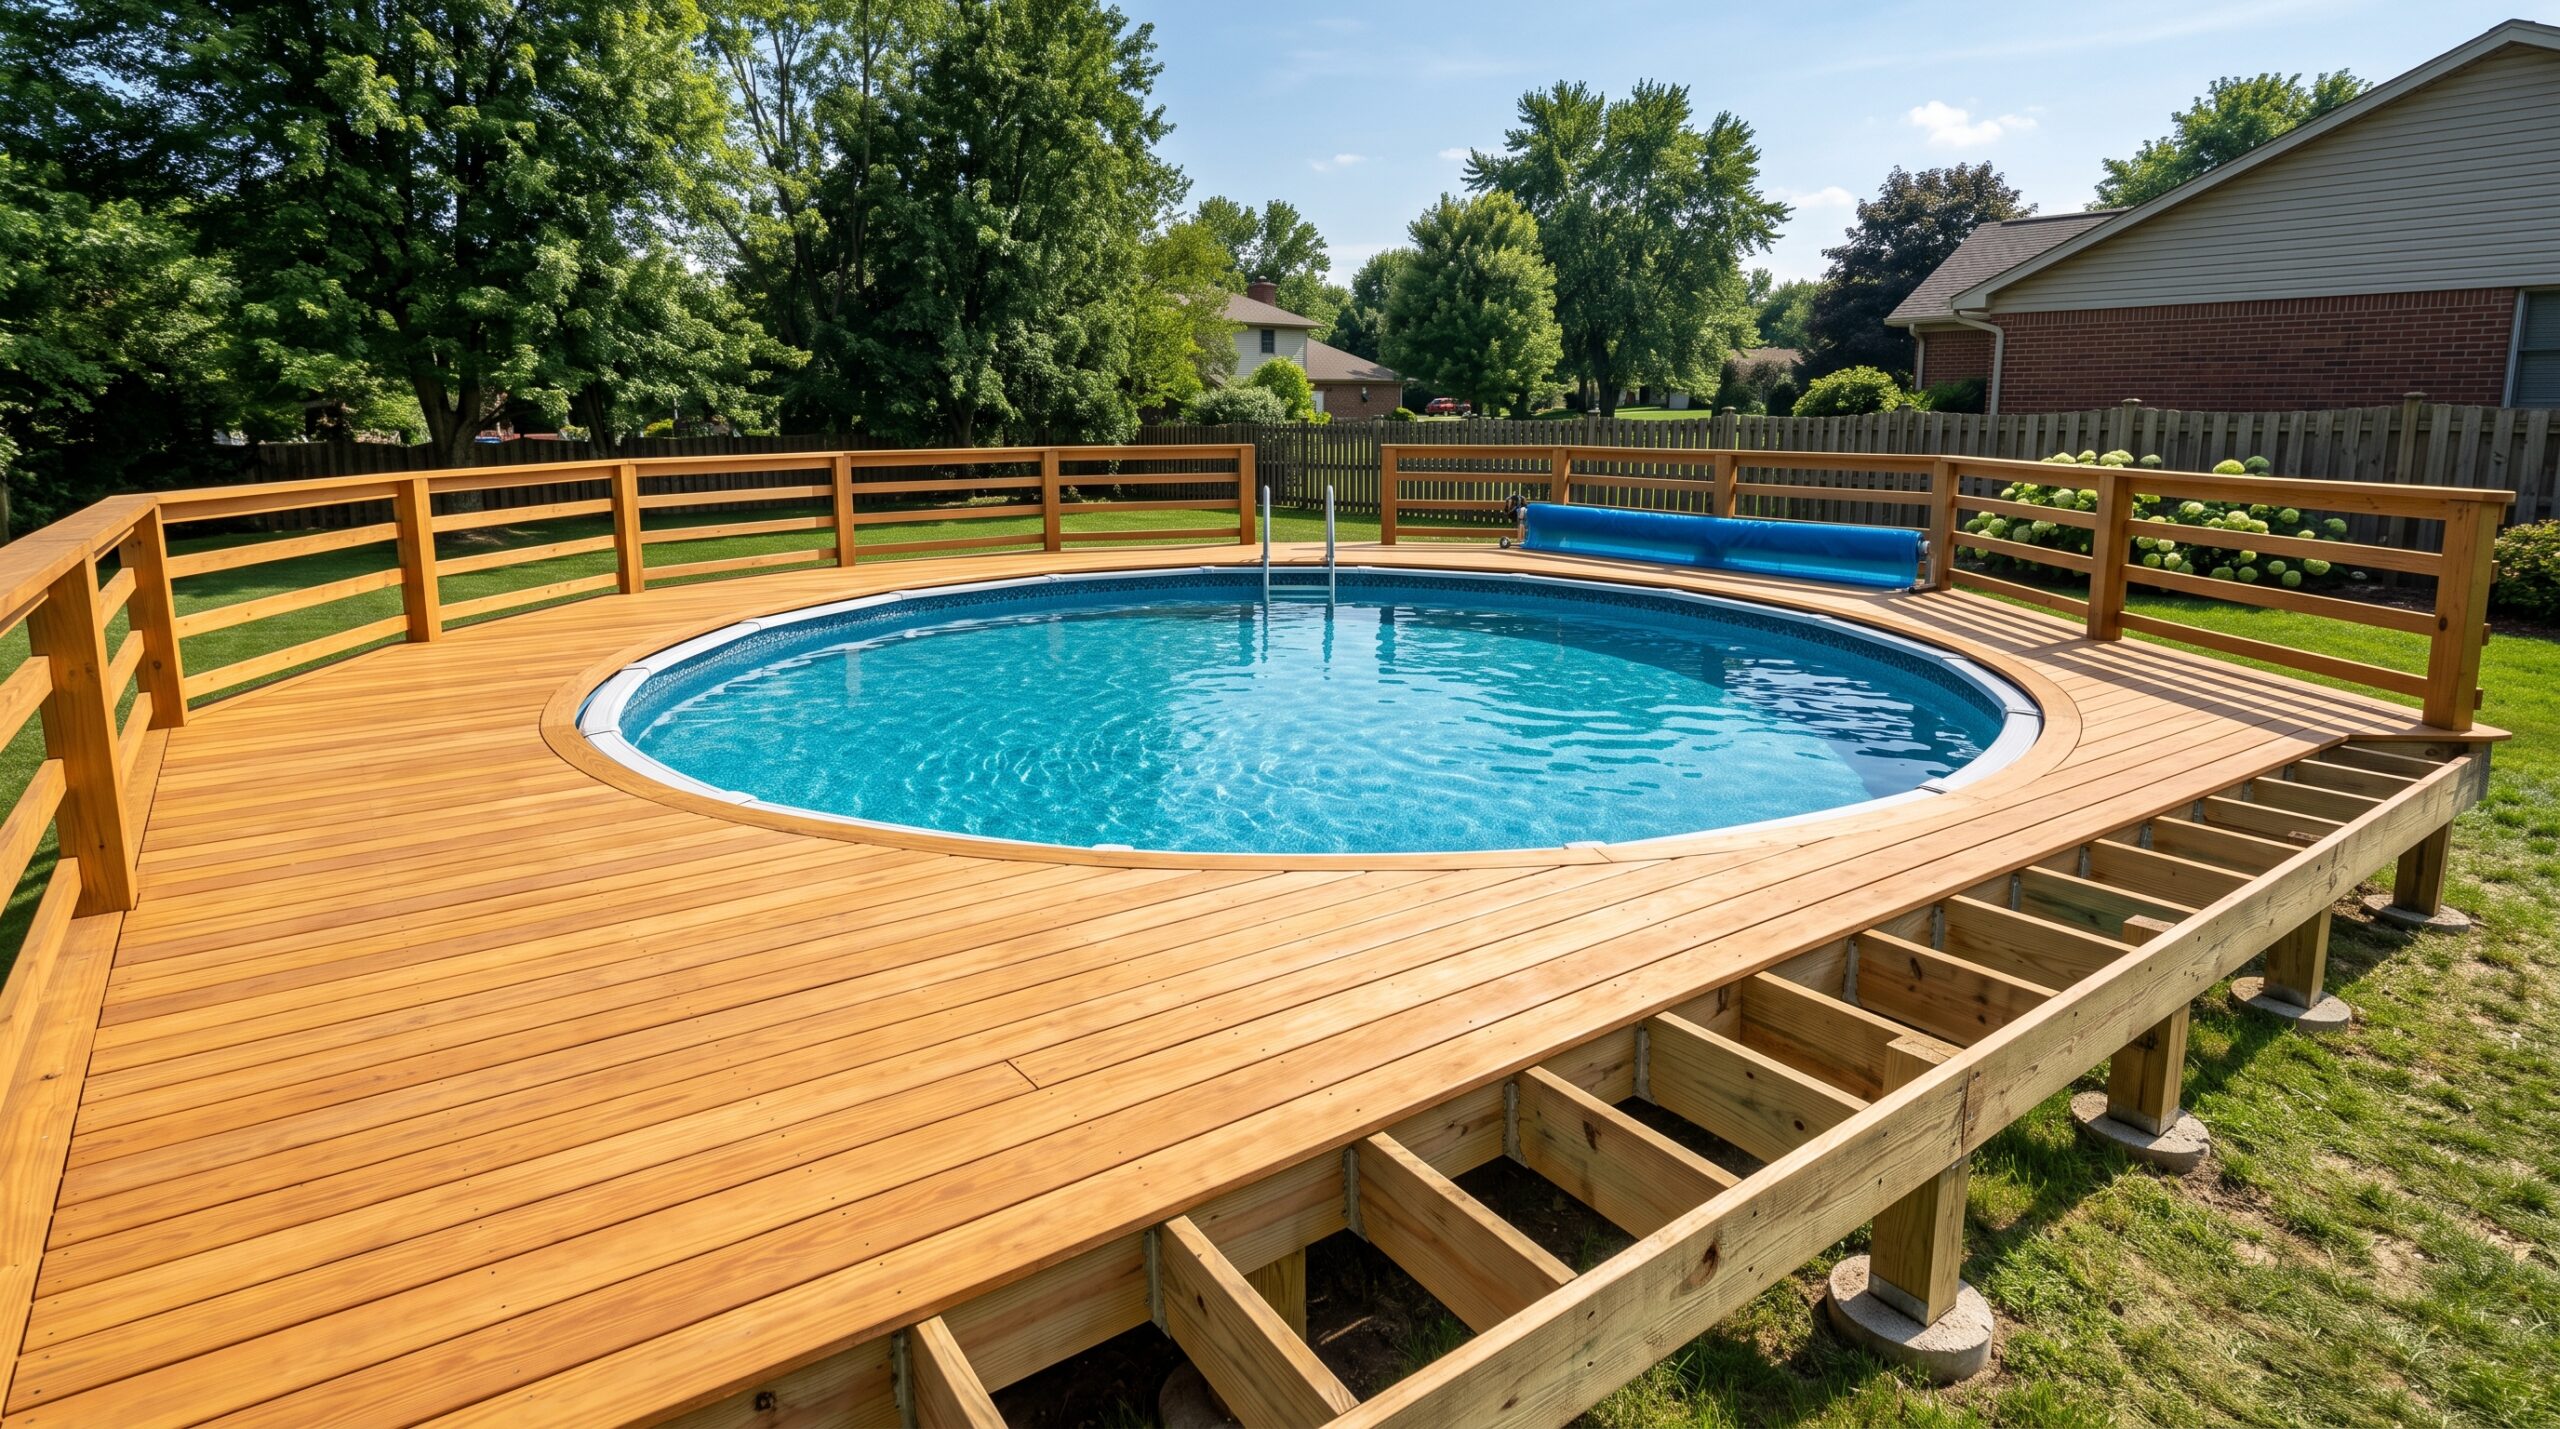
Cut posts to height and install your doubled beams across the top. Beams carry the load from joists down to posts, so they must be properly sized for your span. A general rule for residential decking: doubled 2×10 beams can span up to 10 feet between posts for most residential loads.
Stage 3 — Hang Joists
Joists run perpendicular to your decking boards and sit on top of or hang from your beams using joist hangers. For a pool deck, use hot-dipped galvanized or stainless steel hardware exclusively — standard zinc-plated hardware corrodes rapidly in pool environments.
Space joists at 12 or 16 inches on center. For composite decking, follow the manufacturer’s joist spacing specifications exactly, as composite boards require more support than solid wood to prevent flex underfoot.
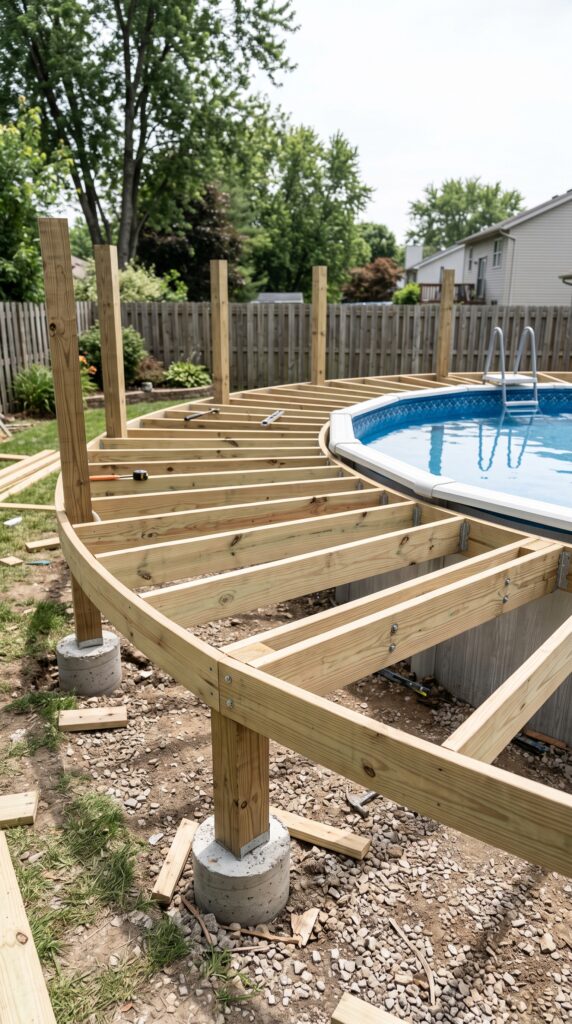
Stage 4 — Cut Curves and Lay Decking Boards
This is where the project starts looking like a deck. If your design includes a curved edge around the circular pool wall, this stage requires careful template work. Most builders use a piece of scrap plywood as a curved cutting template, tracing the pool wall and transferring that curve to the deck boards.
For straight-sided decks, lay boards from the house outward (or from the pool outward). Maintain a consistent 1/8-inch gap between boards for drainage — a deck board spacer tool makes this fast and precise. Pre-drill near board ends to prevent splitting, and drive screws at an angle through the face of each board into every joist below.
Leave a 1-inch gap between the deck surface and the pool’s top rail to allow for thermal expansion and to prevent the deck from putting lateral pressure on the pool wall.
Stage 5 — Build and Attach Entry Stairs
Your stairs are the finishing touch that turns a platform into an experience. For an above ground pool deck, stairs typically rise 48 to 56 inches from the deck surface to grade. Using a stair calculator (available at Fine Homebuilding), determine your rise and run dimensions before cutting a single stringer.
Cut three stringers per staircase for the load-bearing capacity required by most codes. Attach the top of the stringers to the rim joist with strong-tie framing connectors, and set the bottom on a poured concrete pad or solid block to keep the stringer ends off the soil.
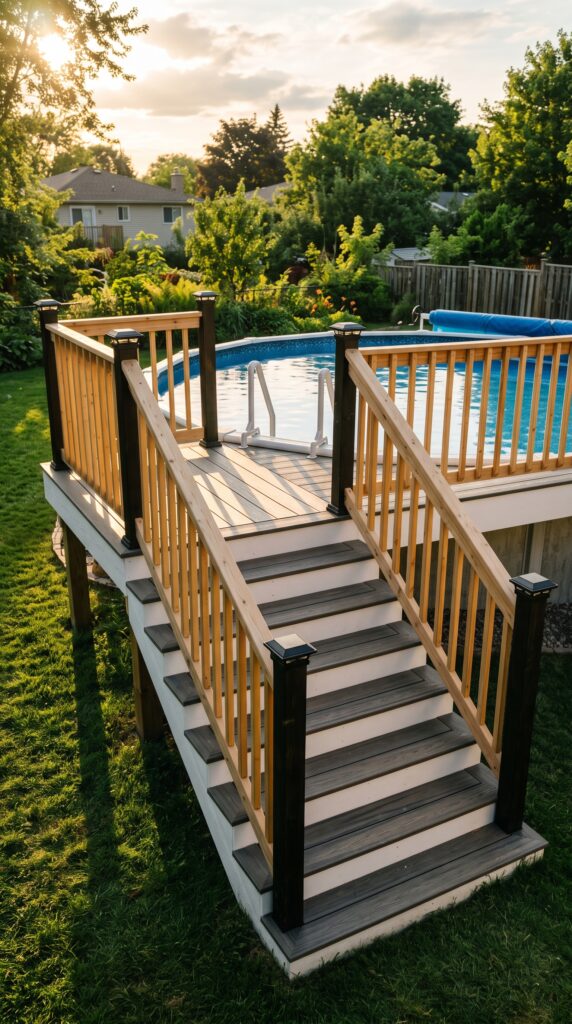
Finishing Touches That Elevate the Whole Project
The structural work is done — now comes the part that makes guests stop and stare. These finishing steps take a functional deck and push it into something that genuinely looks like a professional landscape design.
Railing Systems
Railing is required by code on most decks above 30 inches from grade, and even if yours falls below that threshold, it adds visual polish and safety. Aluminum rail systems are a popular choice for pool environments because they resist corrosion and require zero maintenance.
Space balusters no more than 4 inches apart per code to prevent young children from getting through.
Lighting
Low-voltage LED deck lighting is one of the highest-impact, lowest-effort upgrades available. Post cap lights, under-rail strip lighting, and recessed stair riser lights extend your pool hours well into the evening and add serious ambiance. Most systems are solar-powered or run off a simple low-voltage transformer plugged into any outdoor GFCI outlet.
Sealers and Finishes
If you built with pressure-treated or natural wood, apply a penetrating deck sealer within 90 days of completing the build. Sealers lock out moisture, slow UV graying, and protect the investment you just made. Reapply every two to three years depending on your climate.
Common Mistakes to Avoid When Learning How to Build a Deck Around an Above Ground Pool Step by Step
Knowing how to build a deck around an above ground pool step by step is only half the equation — knowing what not to do is equally important.
Skipping the permit. Already covered, but worth repeating. No permit, no protection.
Attaching the deck to the pool wall. Your pool wall is not a structural element. Never bolt or attach deck framing directly to the pool’s top rail or side wall. The deck must be entirely self-supporting.
Underestimating post count. More posts mean a stiffer, safer, longer-lasting deck. Spacing posts too far apart creates spring and bounce underfoot that worsens over time.
Using the wrong hardware. Pool environments are corrosive. Every screw, joist hanger, and bolt should be rated for ACQ-treated lumber contact and for wet exterior conditions. This is not a place to save a few dollars.
Rushing the concrete cure. Post footings that haven’t fully cured before loading will shift, and a deck built on shifted footings is a deck you’ll be rebuilding in three years.
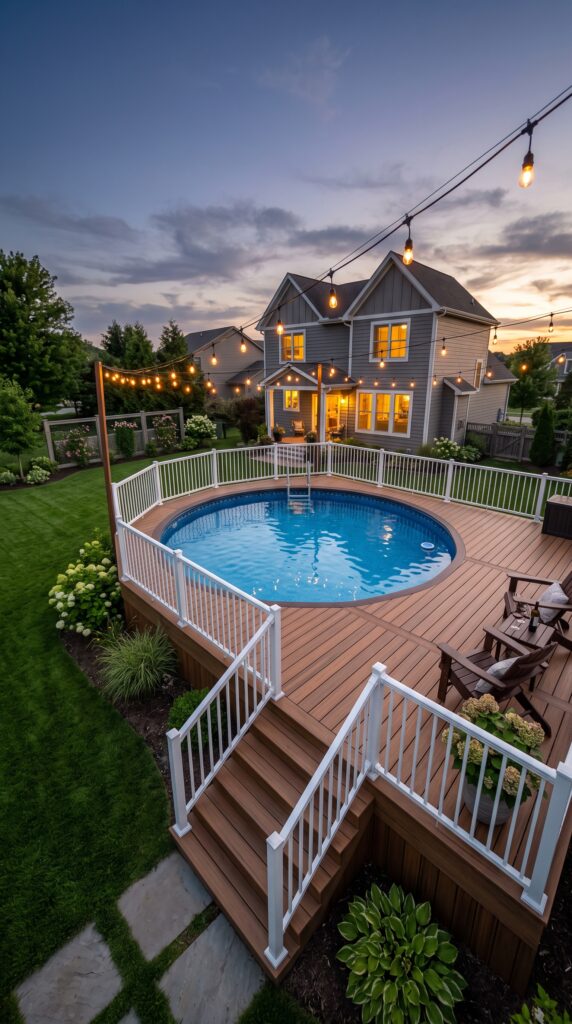
Your Deck Is Within Reach
The process of how to build a deck around an above ground pool step by step is genuinely achievable for a determined DIYer with basic carpentry skills, the right tools, and a weekend or two to invest. The planning phase is where most of the thinking happens. The build phase is where the plan pays off.
Start with accurate measurements, work with your local building department, choose materials rated for wet environments, and follow your post-beam-joist sequence without shortcuts. The result is an outdoor space that serves your family for fifteen to twenty years with minimal maintenance — and turns the most ordinary backyard pool into the place everyone wants to spend their summer.