
If you’ve been searching for halloween front porch ideas that actually look incredible without requiring a Hollywood budget or a design degree, you’re in the right place.
Most people either go way too minimal (a couple of dollar store skeletons and call it done) or they overcomplicate things to the point where setup takes an entire weekend. Neither extreme is the goal here. What works is a layered, intentional approach — treating your porch like a room with zones, atmosphere, and a story to tell.
This guide breaks it all down, step by step.
📋 Table of Contents
- Why Most Halloween Front Porches Fall Flat
- Step-by-Step Halloween Front Porch Ideas by Zone
- Zone 1: The Approach (Walkway and Steps)
- Zone 2: The Entry Point (Door and Frame)
- Zone 3: The Perimeter (Railings and Columns)
- Zone 4: The Overhead (Ceiling and Awning)
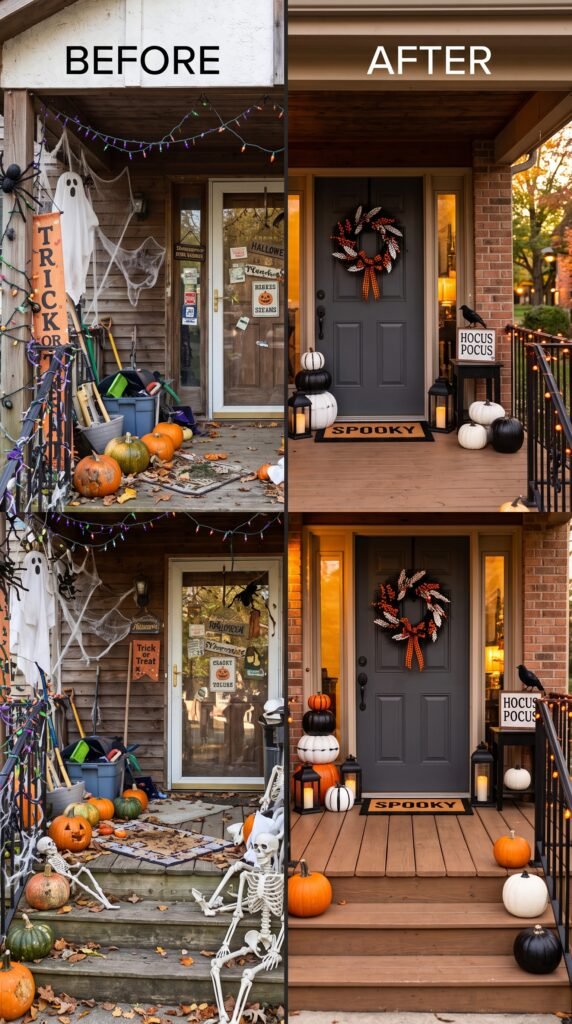
- Common Mistakes With Halloween Front Porch Ideas
- Best Tools and Supplies for Halloween Front Porch Ideas
- How to Make Your Halloween Front Porch Ideas Work for Any Budget
- The Final Layering Pass: Putting It All Together
Why Most Halloween Front Porches Fall Flat
Here’s the thing — Halloween decorating fails happen for one consistent reason. People shop first and plan second.
Picture this: you grab a cart at your local craft store in early October, fill it with whatever catches your eye, drag everything home, and spend three hours arranging it on your porch. You step back. Something’s… off. It looks like a pile of decorations rather than a decorated porch.
Sound familiar?
The fix isn’t spending more money. It’s thinking in zones.
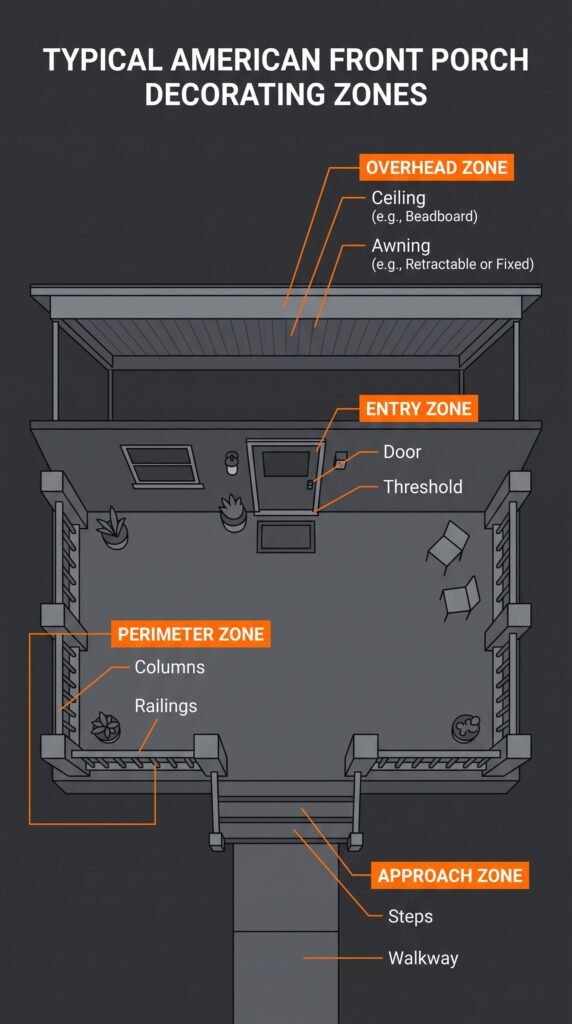
Your front porch has natural sections: the approach (walkway and steps), the entry point (door and immediate frame), the perimeter (railings, columns, corners), and the overhead (ceiling, overhangs, any awning). When each zone gets intentional attention, the whole thing snaps together.
That’s the framework this entire guide is built around.
Step-by-Step Halloween Front Porch Ideas by Zone
Zone 1: The Approach (Walkway and Steps)
This is the first thing anyone sees. It sets the tone before they even reach your door.
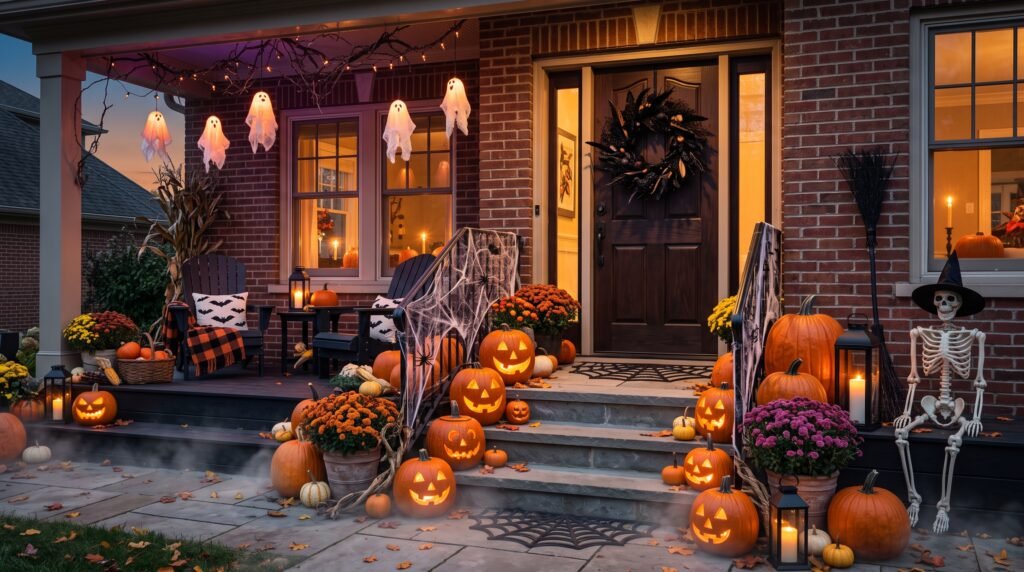
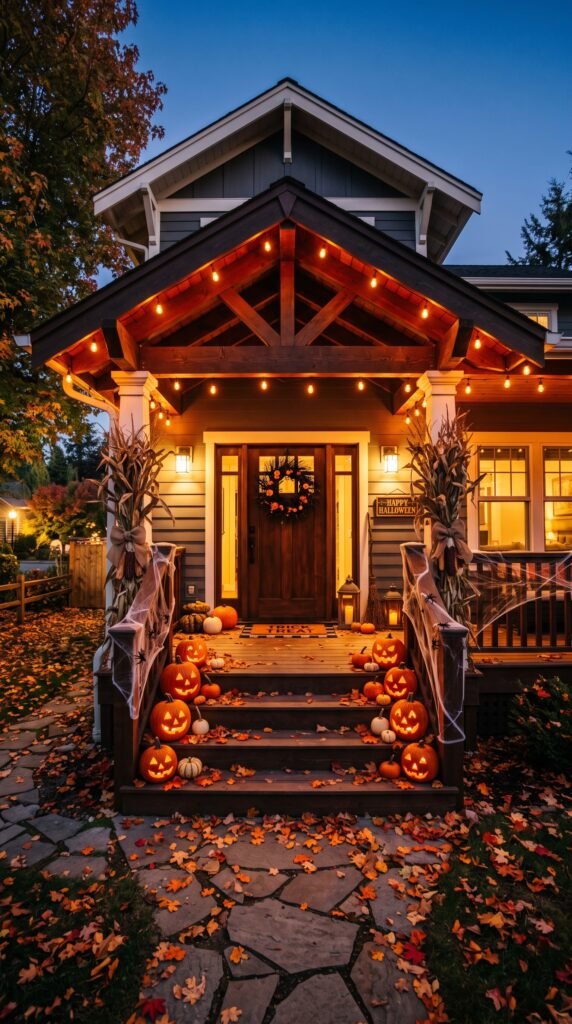
Start with your steps. Odd numbers of pumpkins almost always look better than even groupings — three carved jack-o-lanterns at varying heights feel organic, while two matching ones feel sterile. Mix sizes. Put the biggest one on the ground, medium on a step, small elevated on a crate or stack of books wrapped in burlap.
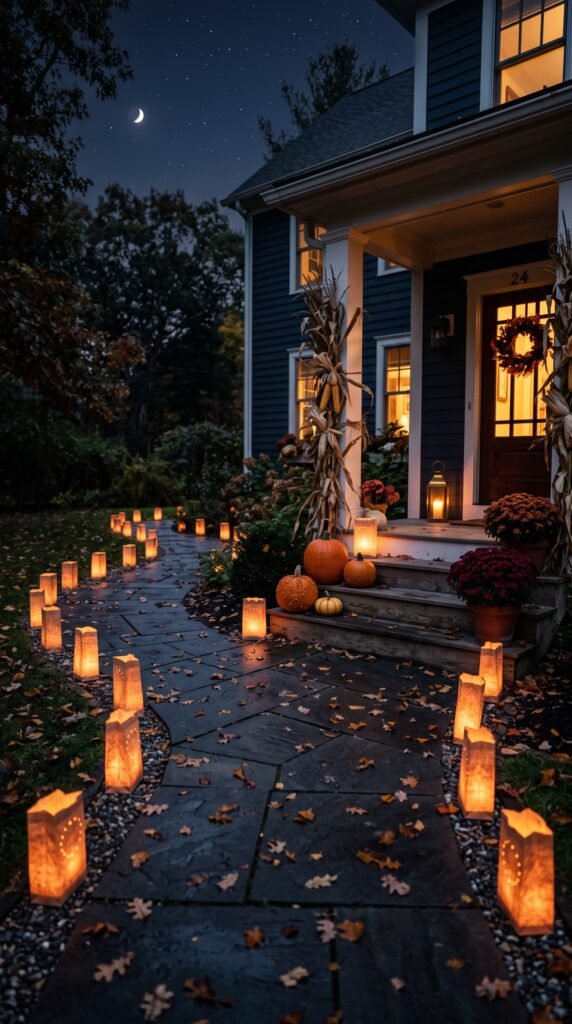
Line the walkway with something low and repetitive. Paper bag luminaries with sand and battery tea lights are a classic for good reason — they’re cheap, windproof (mostly), and create an incredible path effect at night. You can also use [INTERNAL_LINK: solar-powered outdoor lights | outdoor solar lighting ideas for fall] to eliminate the hassle of replacing batteries every two days.
Dried corn stalks tied to fence posts or porch columns are underrated. They bring in height, texture, and an earthy fall authenticity that plastic decor can’t replicate. Most garden centers sell them in bundles for under ten dollars.
Fair warning: if you’re using real corn stalks, keep them away from any open flames or candles. Dry plant material plus fire is not the Halloween memory anyone wants to make.
Zone 2: The Entry Point (Door and Frame)
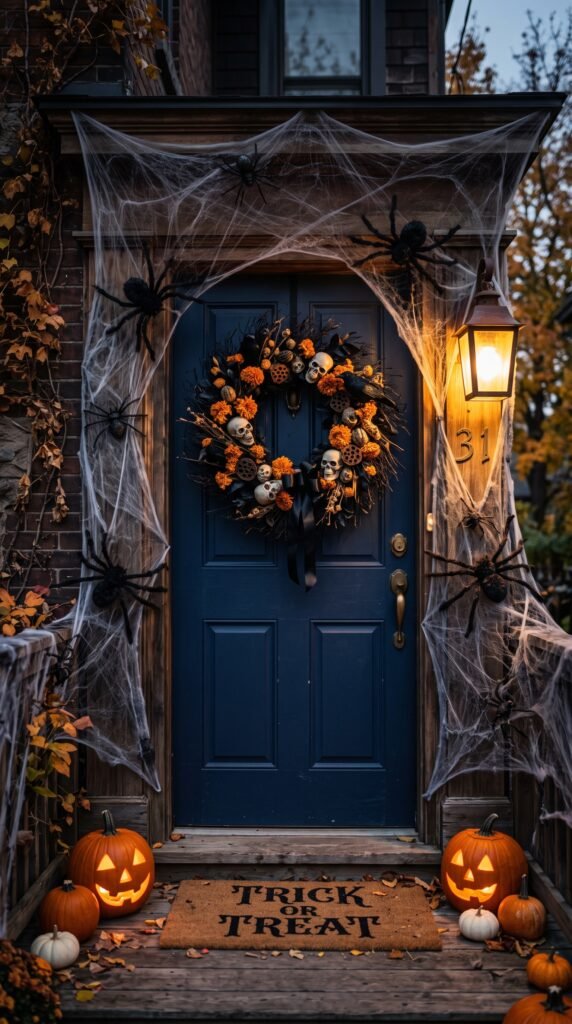
Your front door is the anchor of the whole display. Get this zone right and everything else falls into place around it.
Black wreaths with dried flowers, small gourds, or miniature skulls woven in look incredible against almost any door color. And honestly, a simple black wreath on a red or deep green door is one of the most striking Halloween looks you can pull off for under twenty dollars.
The door frame itself is prime real estate. Garlands of fake spiderwebbing stretched between the frame and nearby columns create depth. But don’t stop there — add a few oversized fake spiders (the fuzzy kind, not the cheap flat plastic ones) anchored into the webbing. Scale matters here. Too-small spiders disappear. Bigger ones read as intentional.
If you’ve got a transom window above the door, put something in it. Orange gels, a lit paper bat silhouette, or even a simple string of lights pressed against the glass from inside makes the whole entry feel alive after dark.
How to Pull Off Halloween Decor Without Buying a Single Thing
Zone 3: The Perimeter (Railings and Columns)
This zone does a lot of heavy lifting for atmosphere. It’s also where most people under-invest.
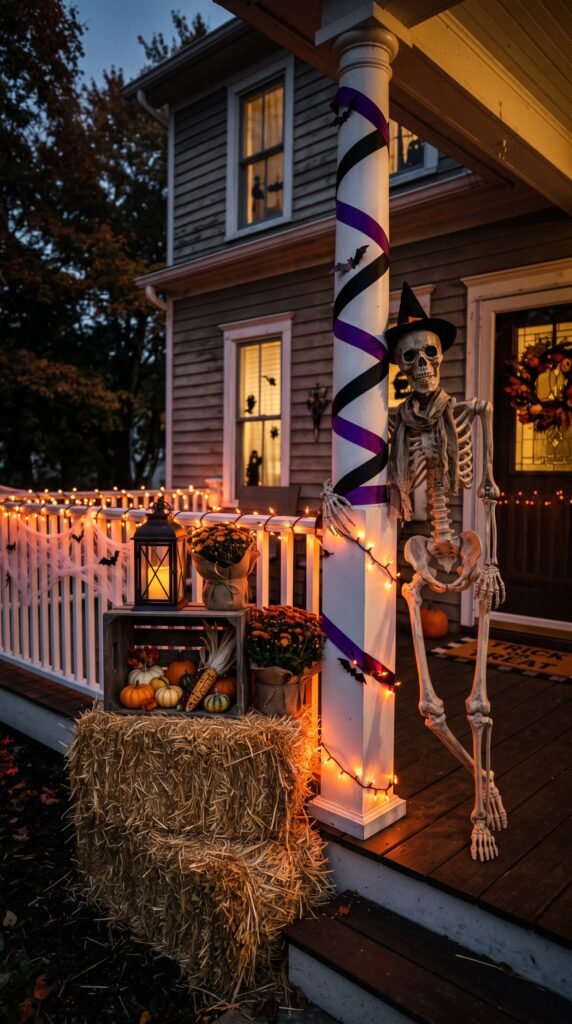
Wrap railings with battery-powered orange or purple string lights. Simple. Effective. Transforms the whole look after dark without requiring any electrical work.
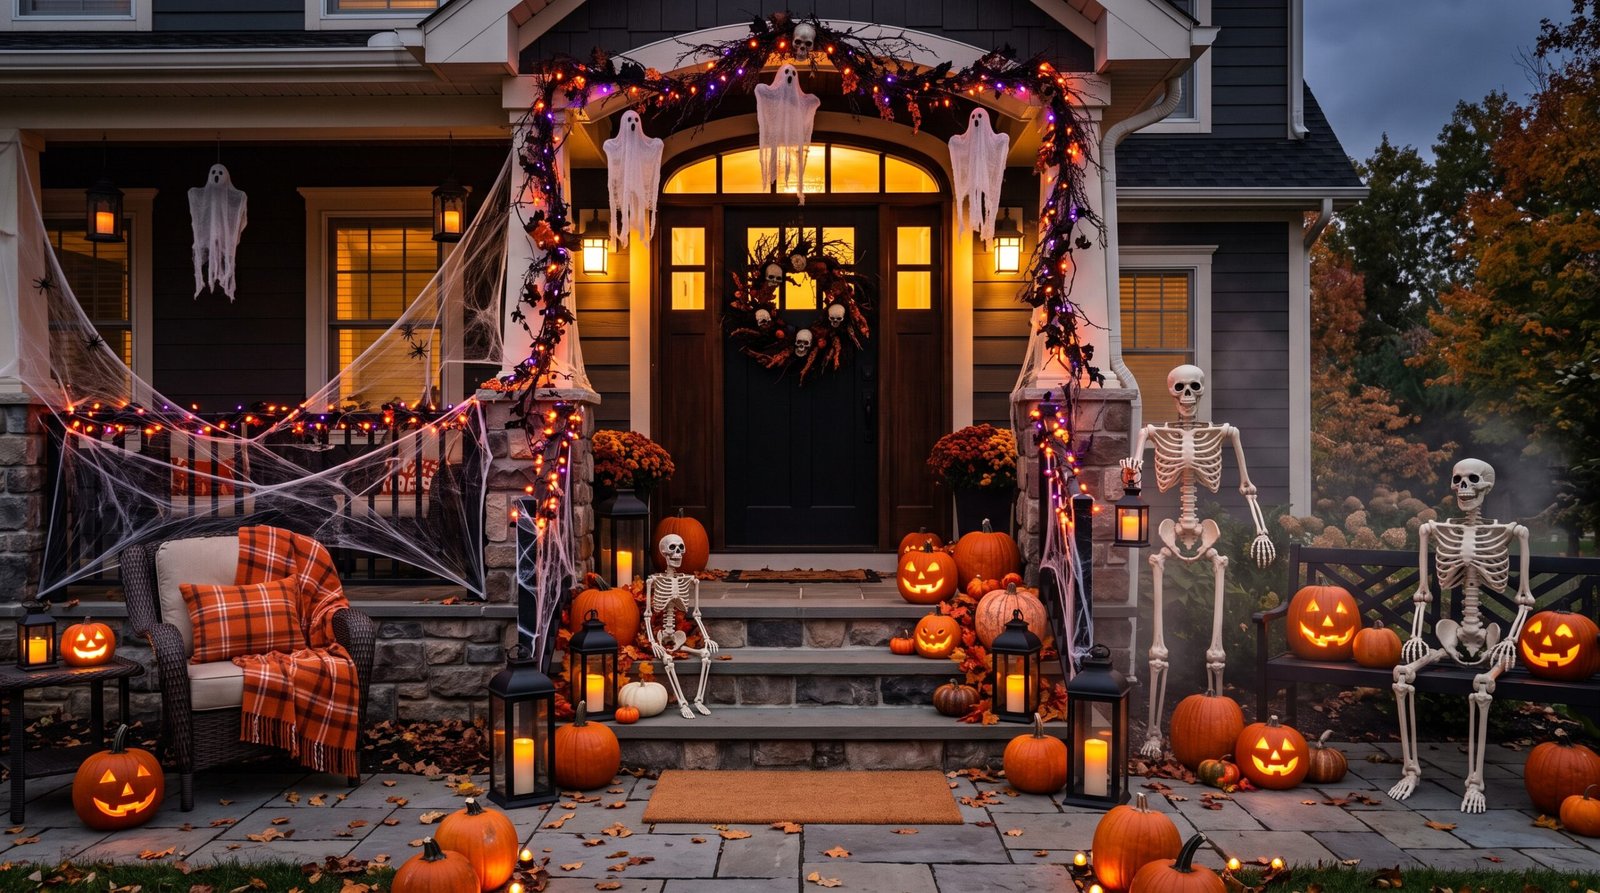
Columns or posts respond well to garlands — either faux fall foliage or black-and-orange ribbon twists spiraling upward. If you’ve got wider columns, consider propping a life-size skeleton figure against one. The kind with articulating joints (you can repose them into whatever stance you want) has become genuinely affordable over the last few years. According to the National Retail Federation, Americans spend over 3 billion dollars annually on Halloween decorations — and skeleton figures are consistently among the top-selling items. There’s a reason they’re everywhere.
Hay bales stacked in corners anchor the display and give you elevated surfaces for smaller decorations. Stack a hay bale, top it with a weathered wooden crate, add a grouping of gourds and a lantern — instant vignette.
Zone 4: The Overhead (Ceiling and Awning)
Most people completely ignore this zone. That’s a mistake.
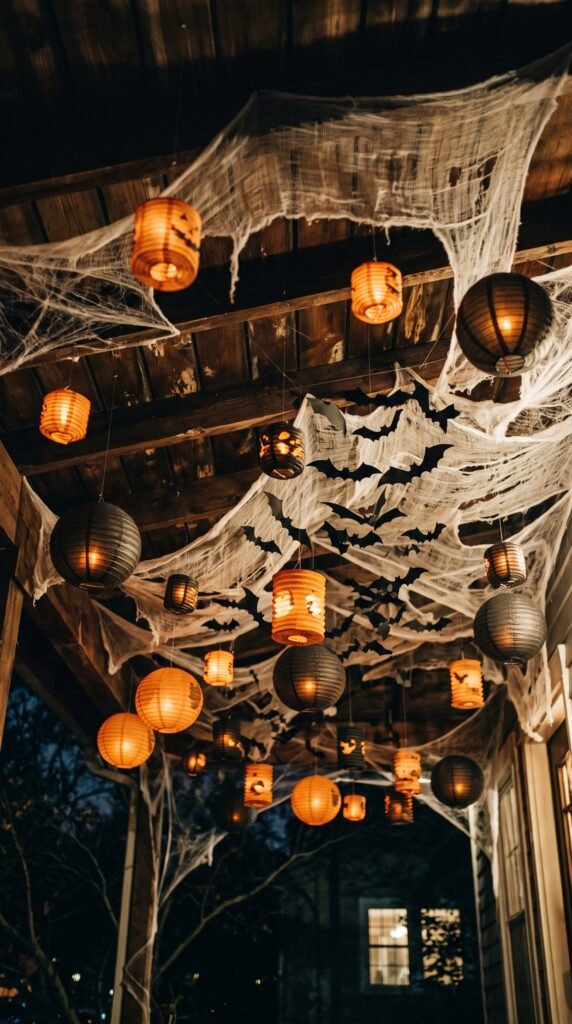
Your porch ceiling is a canvas. Hanging elements at different heights create dimension you simply can’t get from ground-level arrangements alone.
Paper lanterns in black and orange, hung at varying heights from the ceiling with clear fishing line, look surreal at night — especially if you put small LED candles inside them. For a spookier effect, hang clusters of plastic bats or ghost shapes cut from white fabric, letting them drift with any breeze.
Stretched gauzy cheesecloth works better than fake spiderweb for larger ceiling installations. It’s lighter, drapes more naturally, and doesn’t leave that awful synthetic fluff residue all over your porch furniture.
If you have a ceiling fan on your porch, drape it carefully with webbing or hang bat shapes from each blade. When the fan spins slowly, the effect is genuinely unsettling in the best way.
Common Mistakes With Halloween Front Porch Ideas
Now that you know what to do, here’s what to avoid.
Ignoring scale. This is the most common one. A twelve-inch pumpkin on a wide wraparound porch looks abandoned, not decorated. Go bigger than you think you need to, especially with anchor pieces.
Using too many colors. Orange, black, white, and deep purple work beautifully together. Add lime green sparingly. The moment you start mixing in every Halloween color available, things look chaotic. Commit to a palette and stick to it.
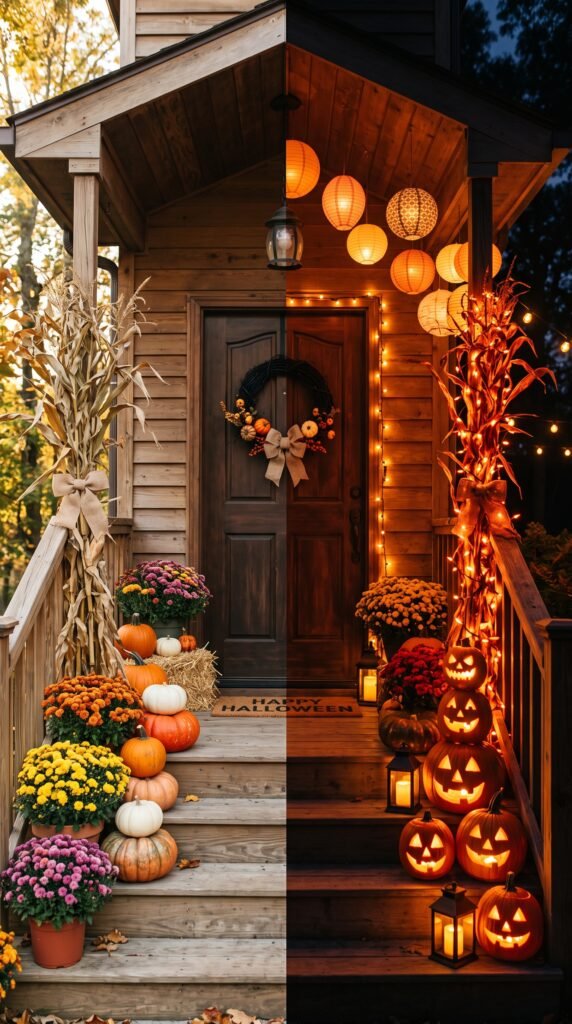
Forgetting about daytime vs. nighttime looks. A great Halloween front porch has to work in daylight AND after dark. Most people plan for one or the other. Things like corn stalks, mums, pumpkins, and hay bales carry the daytime display. Lighting carries the nighttime one. You need both.
Only decorating at ground level. This one keeps coming up because it’s so common. Height variation is what separates a display that looks intentional from one that looks like stuff got plopped down.
Starting too late. According to History.com’s overview of Halloween traditions, the holiday has been commercially celebrated in the U.S. since at least the early 1900s. But the best decorating supplies — the quality stuff — sells out fast. If you’re planning anything elaborate, shop by early October at the latest.
And honestly, one of the most overlooked mistakes? Not accounting for weather. If you live somewhere with early fall rain or wind, anything paper-based needs shelter or waterproofing. Nothing kills the vibe faster than a soggy paper luminaria or a collapsed skeleton flattened by rain.
Best Tools and Supplies for Halloween Front Porch Ideas
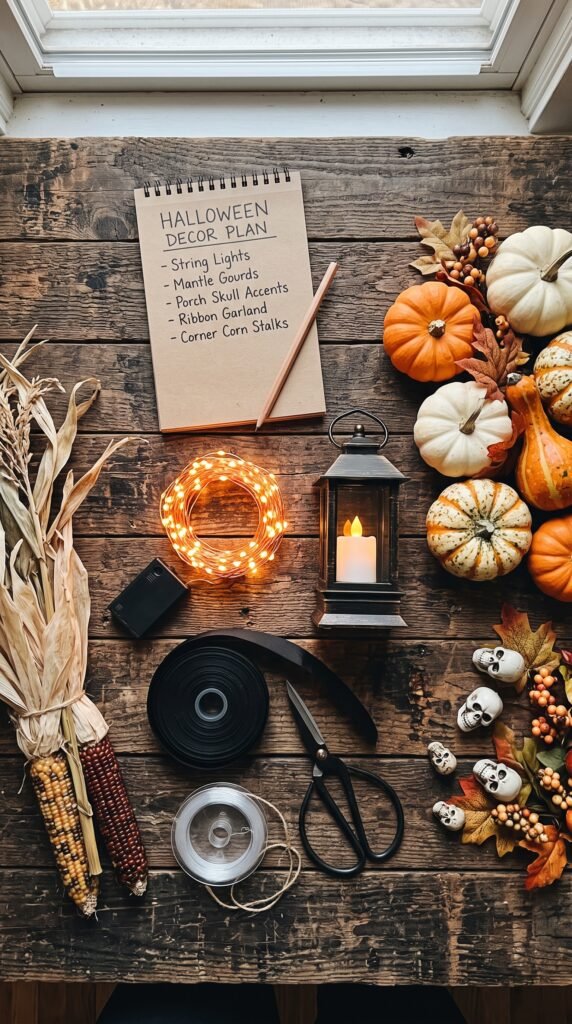
You don’t need specialty Halloween stores for this. But you do need the right materials.
For lighting: Battery-powered string lights beat plug-in versions for flexibility. Timer-enabled ones mean you’re not scrambling to turn things on every evening. The This Old House guide to outdoor lighting has solid, unsponsored recommendations for durable outdoor options.
For structure: Hay bales, wooden crates, and metal plant stands give you the height variation you need. Thrift stores and garden centers are your best sources, and you can reuse all of them for fall and Thanksgiving decor after Halloween.
For atmosphere: A small Bluetooth speaker playing ambient Halloween sounds (distant thunder, creaking doors, low-tempo orchestral horror) adds something intangible that no decoration can replicate. Set it inside near a cracked window pointed toward the porch. Subtle is better.
For large-scale props: Life-size skeletons, inflatable figures, and animatronics are now widely available at big box stores by late September. If you go with an inflatable, make sure it’s rated for outdoor use and stake it down properly. An inflatable dragon rolling across your neighbor’s lawn at 2am isn’t the seasonal spirit anyone was going for.
Halloween Lighting & Decor Ideas to Make Your Home Spookier This Year
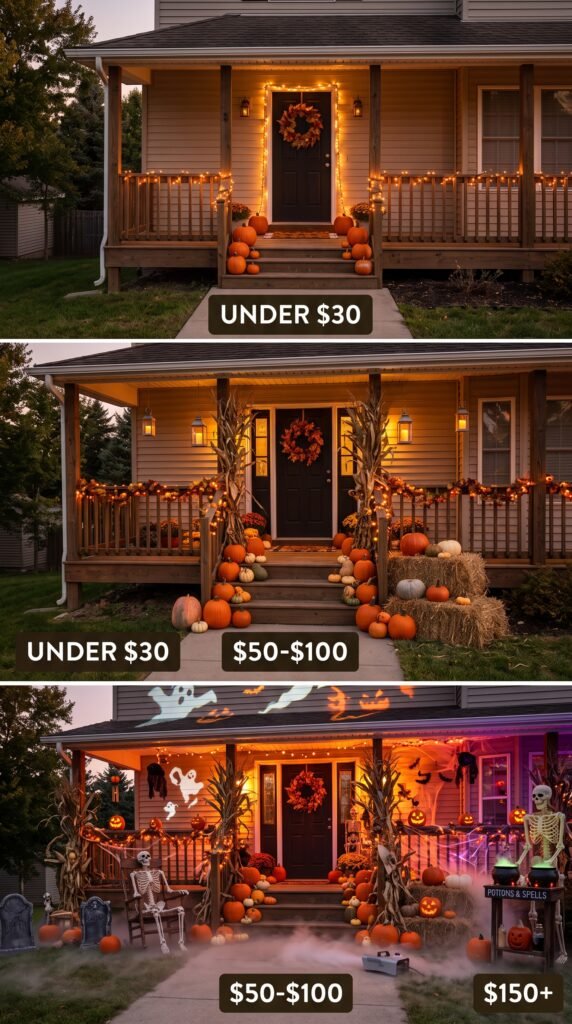
How to Make Your Halloween Front Porch Ideas Work for Any Budget
The zone framework scales beautifully at any price point.
At the minimal end, a few large pumpkins (real ones from a local farm are cheaper than you’d think), a single string of battery-powered lights, and a paper bag luminary pathway gets you 80% of the way there for under thirty dollars.
Mid-range adds corn stalks, a quality wreath, hay bales, and some hanging elements. That’s where you start getting real dimension.
Full-send builds in animatronics, projectors casting eerie moving images onto the house facade, fog machines timed with motion sensors, and life-size props in posed vignettes. That version costs more and takes more setup time — but it also makes neighborhood kids talk about your house for years.
The goal isn’t spending more. The goal is spending with intention. One twenty-dollar statement piece beats ten two-dollar trinkets every single time.
The Final Layering Pass: Putting It All Together
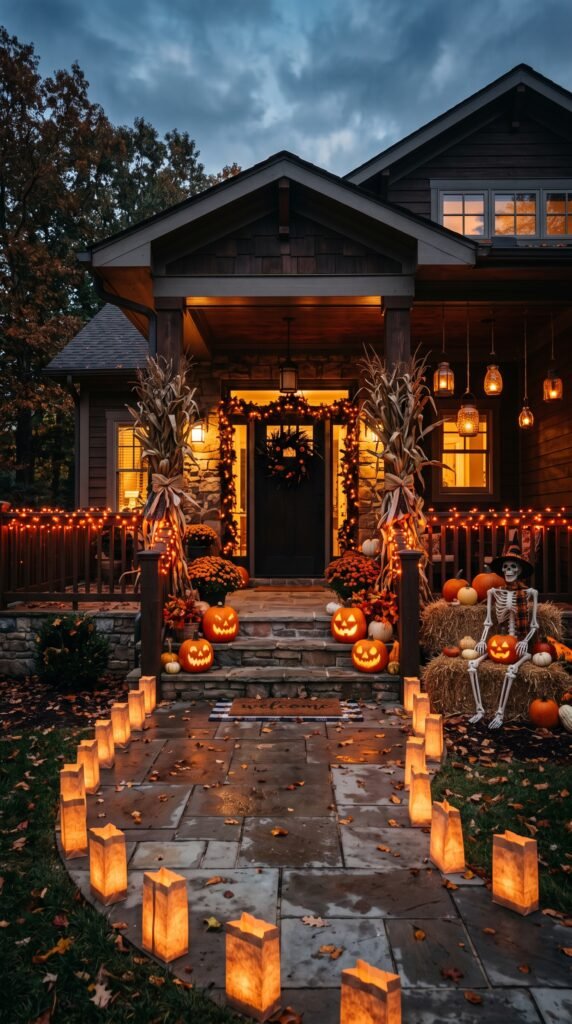
Once your zones are set, do a final walkthrough. Stand at the street and look at your porch the way a first-time visitor would.
Check for visual gaps — spots where the eye goes and finds nothing. Check for crowding — places where things are competing instead of complementing. And check for height variation one more time, because it’s that important.
Then wait for dark. Walk to the end of your driveway and look again. Lighting changes everything. You may need to reposition a string or add a candle inside a pumpkin you forgot to light. Minor tweaks at this stage have a big payoff.
Halloween front porch ideas only work when they’re executed as a system, not a collection of individual decorations. Think in zones. Layer from large to small. Light intentionally. And leave room for a little unexpected weirdness — because that’s kind of the whole point.